The story of the first 3.5 billion years of life on Earth. From chemical evolution through prokaryotes and photosynthesis to the first multicellular life forms.


The observation night should be carefully planned in advance. A good software for this task is the open source software Stellarium. Stellarium is a planetarium simulator that is available for the most commonly used operating systems (Linux, Windows, OS X). Stellarium offers an excellent visualization of the night sky and can be installed on a notebook to support you in finding stars once you are out in the field.
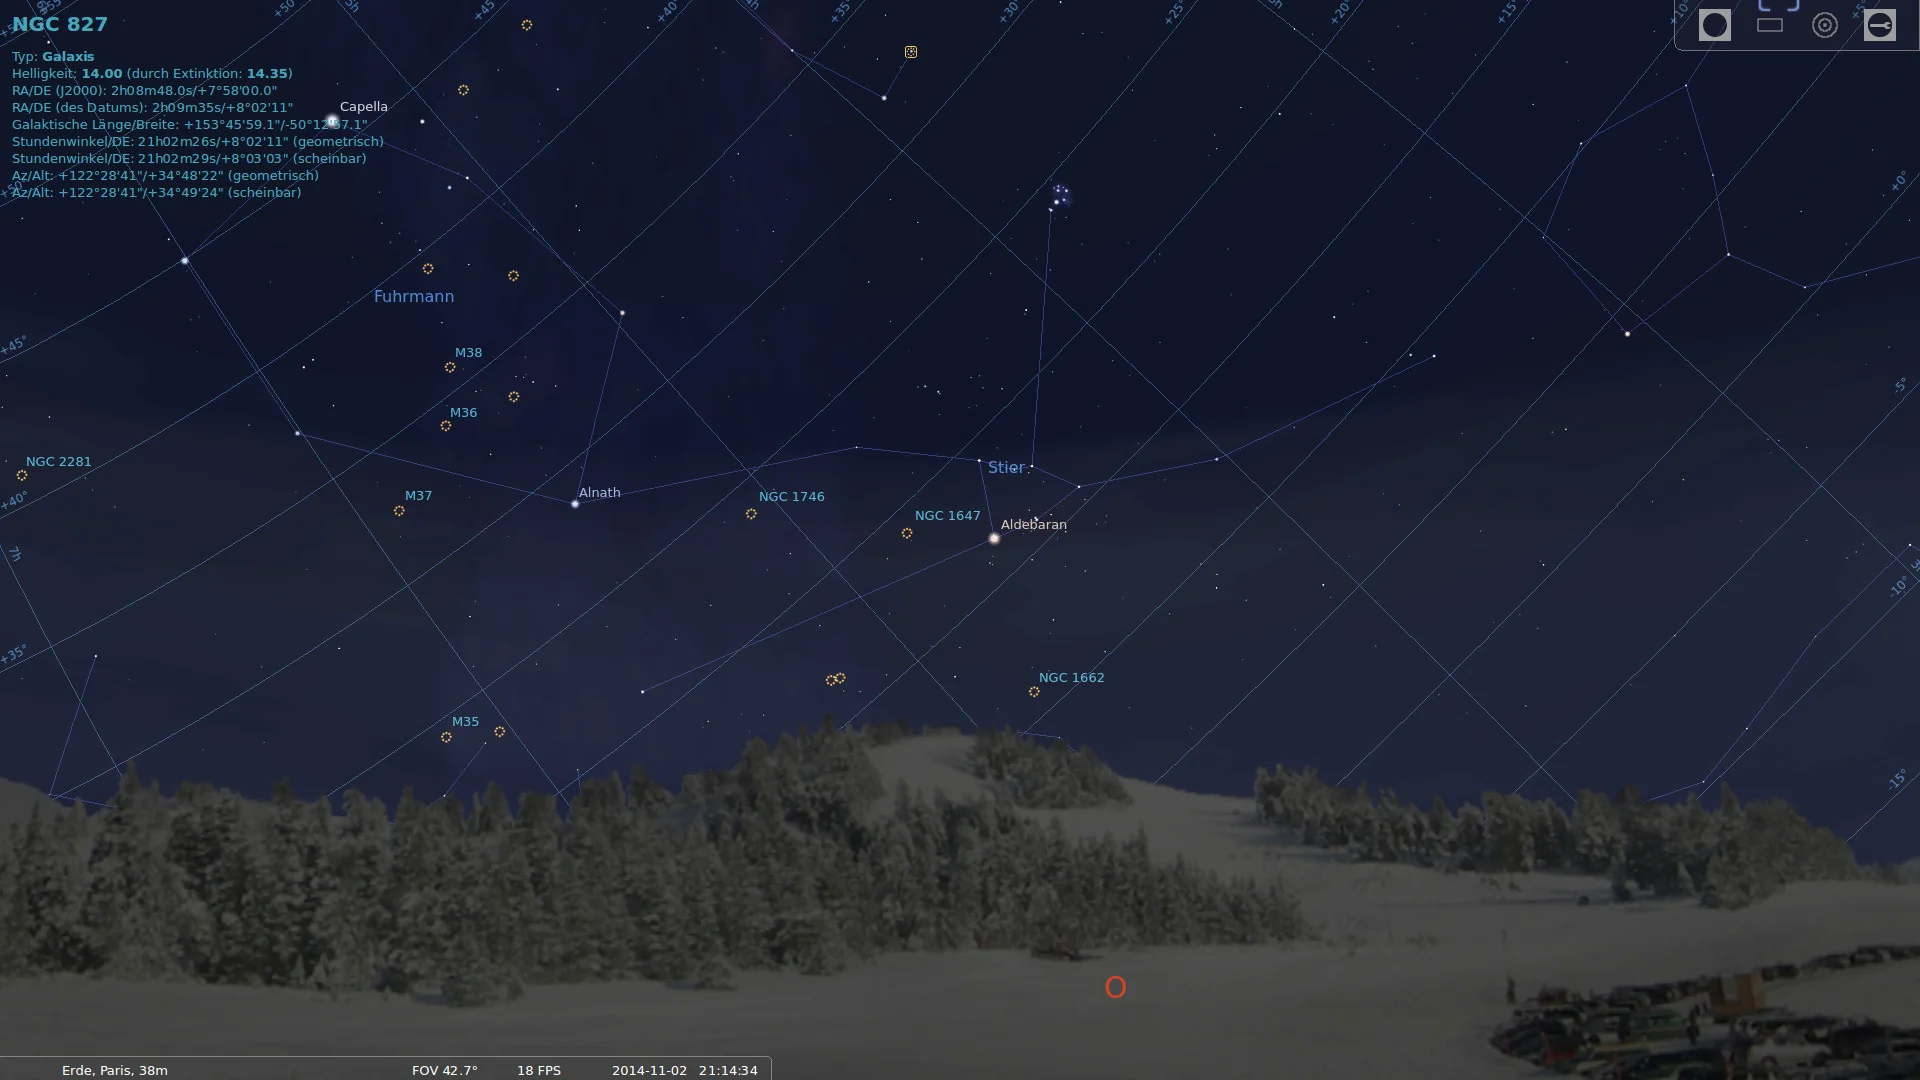 A screen shot of the software Stellarium showing the constellation Taurus low above the horizon.
Stellarium will also help you in planning the motive when doing astrophotography. For this purpose it features an objective simulation mode. This mode allows simulating the field of view of an arbitrary objective / sensor combination. All you have to do is provide the program with the proper focal length of the camera and the size of the sensor and it will simulate the proper field of view. This is especially helpful when imaging faint objects that are hard to find with the bare eye.
The following example illustrates this with a 200 mm objective on a digital Canon EOS capturing the Whirlpool Galaxy. On the left hand side the simulated field of view is shown. The right side contains an actual image of the photo session. As you can see the stars match very well. By using this kind of planning it is possible to pinpoint the location of faint objects by correlating their position to the position of nearby stars.
 Simulated field of view of a 200 mm objective used on a camera with APS-C sensor.
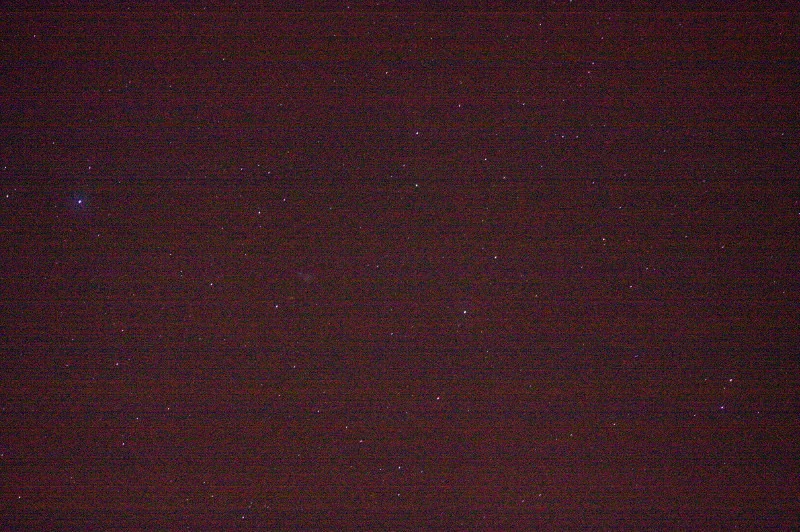 Actual image of the same region taken with a Canon EOS 50D and 2 seconds exposure time at ISO 12800.
Astrophotography without a clear and dark sky is impossible. Finding the right spot for taking the image is as important as having the right gear. In industrialized nations Light Pollution is making it increasingly difficult to find a dark spot. A general rule is that you should try to avoid the proximity to large cities or industry areas when doing astrophotography.
 Light pollution map of central europe.
Light pollution maps can help you to identify dark areas close to your home. The following links lead to websites dedicated to presenting light pollution maps:
Once you have located a dark spot make sure not to place your equipment close to roads since the light of passing cars can enter the camera through an optical viewfinder thus ruining a frame of your image series.
Whilst the astrophotography of planetary objects such as the moon and planets is possible in urban regions there are certain limits to the deep sky astrophotography. Finding a dark shooting spot is crucial to the success of any kind of astrophotography. Many galaxies, globular clusters and nebulae are too faint to be imaged against a sky illuminated by a nearby city. There are however a few objects that can be imaged close to urban areas. These are objects that are also visible to the bare eye:
Most deep-sky objects can't be located with the bare eye but often they are located next to brighter stars. This can be used for aiming at those objects since with the relatively short focal lengths used in the untracked astrophotography the cameras field of view is often wide enough to capture the galaxy anyhow. The following list contains samples of objects that whilst faint themself can be located easily by using neighboring stars.
Stellarium can help you locate deep-sky objects:
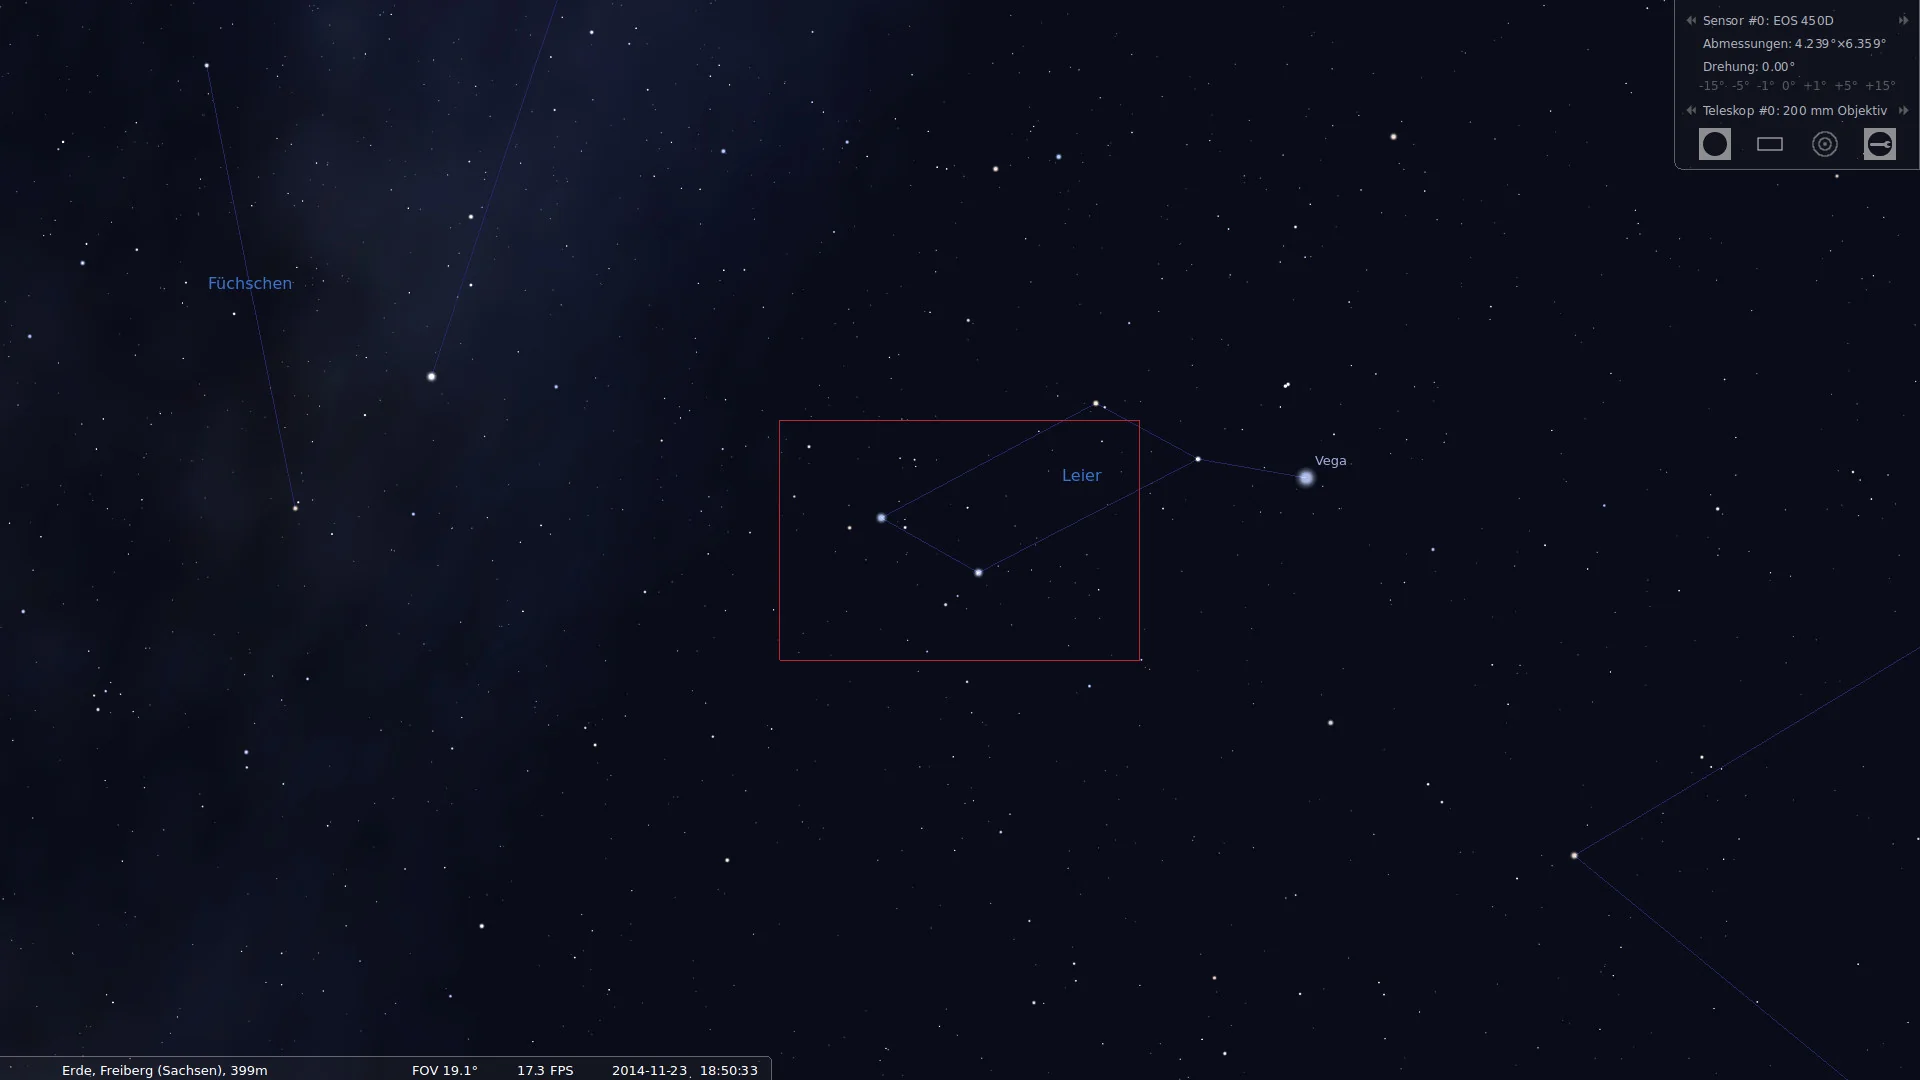 The red rectangle shows the field of view of a 200 mm objective in combination with an APS-C sensor when
aimed at the lower section of the constellation Lyra.
The red rectangle shows the field of view of a 200 mm objective in combination with an APS-C sensor when
aimed at the lower section of the constellation Lyra.
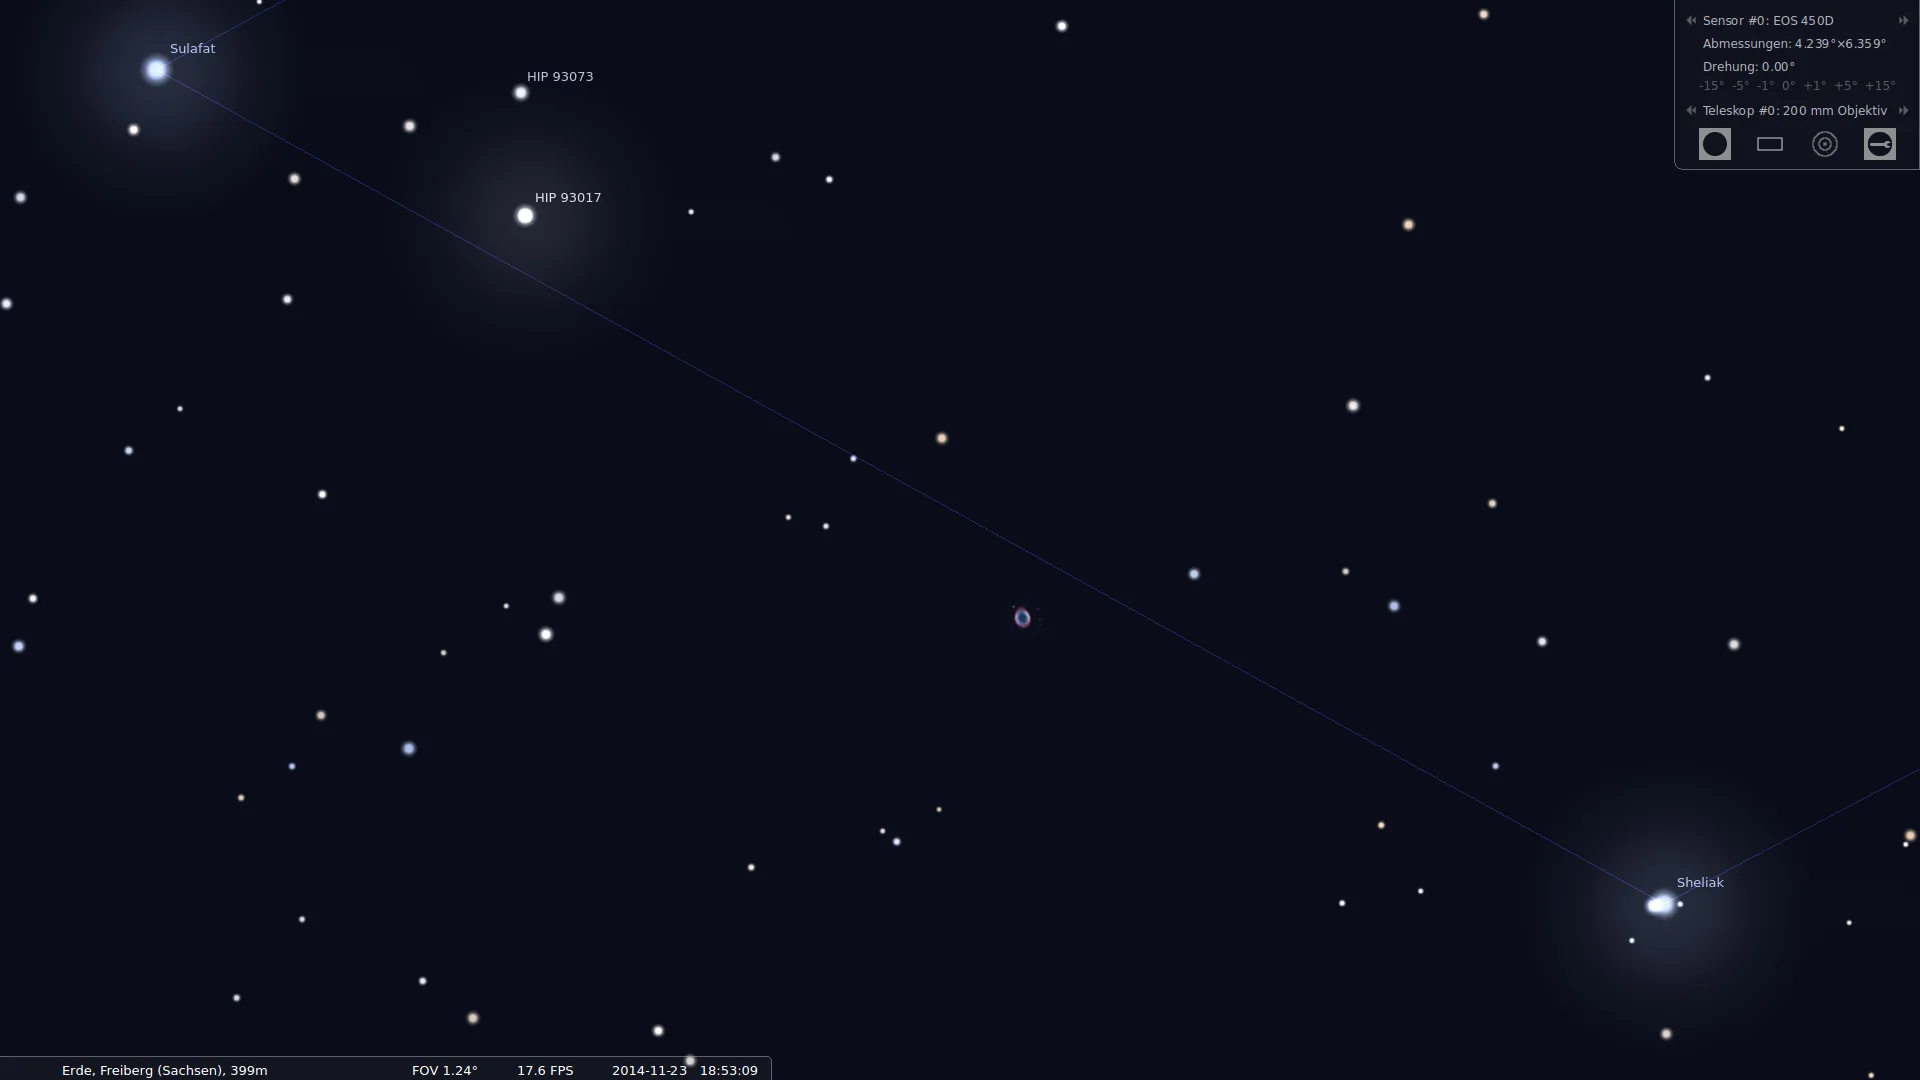 The ring nebula is not visible to the bare eye. It is located in the middle of the stars Beta and Gamma Lyrae.
The field of view of the camera is large enough to capture the nebula when both stars are in the field of view.
The ring nebula is not visible to the bare eye. It is located in the middle of the stars Beta and Gamma Lyrae.
The field of view of the camera is large enough to capture the nebula when both stars are in the field of view.
Industrialization has made it difficult to find excellent conditions for astrophotography in central europe. Areas with low population density are usually better suited for astrophotography but even if you live close to a city moving a few kilometers outside will greatly increase the quality of your night sky. Driving as little as 5-10 km is often sufficient to find the darker skies needed for better images.
 Urban and industrial areas are the primary source of light pollution.
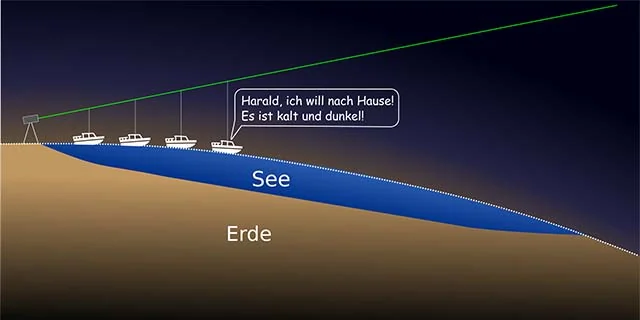
Most of the times you can't entirely avoid light pollution. When shooting astronomical images make sure the object is high above the horizon. Even in dark regions there is always a visible brightness gradient in the sky. In addition light has to travel further through the atmosphere to reach your telescope when observing low above the horizon. This will increase the negative effects of air turbulences and will make it harder to obtain a sharp image.
 The area close to the horizon is not a good choice for making astrophotos since the light pollution is stronger there.
Even in perfect conditions on an island in the middle of the ocean taking astrophotos is hard when the moon is high in the sky. So when planning your imaging session take a look at the current moon phase and its rise and set times to avoid being suprised by a full moon rising high above the horizon whilst you are trying to collect those 300 images needed for stacking an untracked astrophoto.
 The moon is a natural source of light pollution that prevents the gathering of high quality image data.
The story of the first 3.5 billion years of life on Earth. From chemical evolution through prokaryotes and photosynthesis to the first multicellular life forms.
How "Terra-X" a documentary format by german public service broadcaster ZDF failed at flat earth debunking.
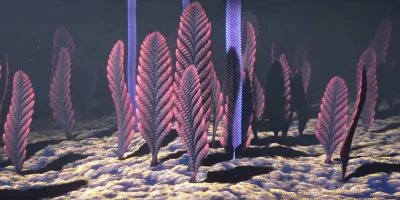
Visit the miraculous world of pre cambrian life forms. The Ediacara biota is a group of mostly soft-bodied organisms that lived during the Ediacaran period 635-538 million years ago.